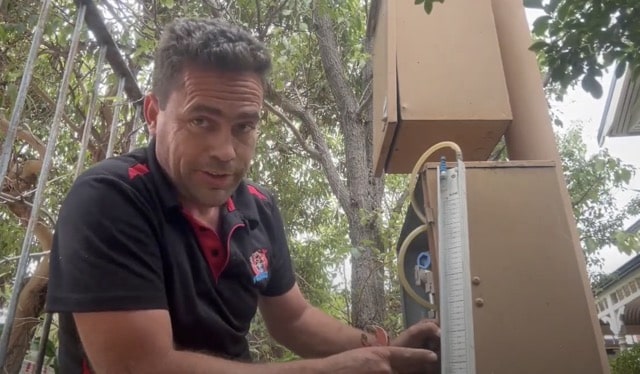
Hello everyone, it’s Richard at Plumbdog here!
I wanted to do a short video just to show you guys how to check for water leaks. It’s early October here in Perth, Western Australia. We’re in a suburb called Como and as you can see from the sky, the sun is starting to shine, and officially we can turn Retic on at the start of spring. Personally, I like to leave it until a bit later because it’s still been quite rainy, but I’m just going to walk you through the sequence of events of how to turn your Retic on.
If you’re turning your Retic on for the first time this spring, it’s a good idea to check for water leaks following your first switchover. We find that a lot of people realise that they’ve got water leaks this time of year after turning their Retic on. So rather you know now, than get a very expensive bill in the post from the water corp informing you that you’ve got a leak. It’s going to show you a couple of quick steps that you can do yourself to check for leaks. Now that you’re Retic is presumably back on.
In here, we’ve got the main controller for the Reticulation. I’m just in the garage and as you can see, the dial there is put in the off position. The Retic has been off all winter, so it’s time now to turn the Retic back on. So just to stick with the existing programmes that were in there last year. Just simply turn the Retic setting onto run. That’s basically going to be in line with the settings. There are all different date and time settings to choose from. This property’s Retic days are Thursday and Sunday. We’ve got start times and what have you, so I don’t need to go into that, but basically, now the Retic is on.
With the Retic on, I just come outside to the water metre at the front and I’m just going to lift the cover. As you can see, the numbers at the top which is the reading of the meter that the Water Corp will take for your bills, and then on this type of meter, this needle here that spins around is really the one we’re looking for. It’s on number six at the moment and it doesn’t appear to be moving so I’m pretty confident there are no leaks on that. A good test to do would be to just keep your eye on it and to test for five minutes and then see if the needle moves off number six. If it does, obviously it might indicate that there is a small leak. But basically, one full turn of this needle here is one litre. So if it does move a tiny bit we’re talking about a tiny amount of water. So looking at that it looks like we are good.
Okay, so as you saw, there are no leaks there, but I’m just here with Rhyse and he’s just got a quick idea of something we can show you. We’re going to turn the camera around and you can see Rhyse. Hey Rhyse!
I’m going to run the tap slightly to imitate the leak to give you guys an idea of how much the needle will move in retrospect to how much water is coming out of the tank. So let’s pretend that’s a small leak, and then we’ll go see if the needle is moving around at the meter to give you an idea.
So we’re back at the needle, and with the naked eye, you can’t really even see it moving, but over a five-minute test you might see it move. Rhyse is going to bump it up a little bit, and yeah, you can see it moving a little bit. So hopefully it gives you a bit of an idea of the size of the leak based on the movement of the meter. It’s not a lot of water, and when it is dispersing into the ground or something, it’s not very obvious. It’s pretty easy for it to get away from you.
Alrighty, hopefully that helps. So regardless of whether it’s the time of year when you turn your Retic on, it’s always a good idea to go outside to your water metre. Once everything is off inside the house, just have a quick look and if your needle is moving, it could mean you’ve got a leak. If that’s the case, obviously you know who to call — Rich and Rhyse from Plumbdog!
Alright, thanks for watching, guys. I hope that was helpful and we’ll catch you on the next video. Take care, bye.
Don’t forget to hit like and subscribe so you’re notified each time we upload a video.


